-
 Fort Mill, SC 29708
- support@sysvita.com
- +1-315-537-6217
-
 +91-9999943885
+91-9999943885
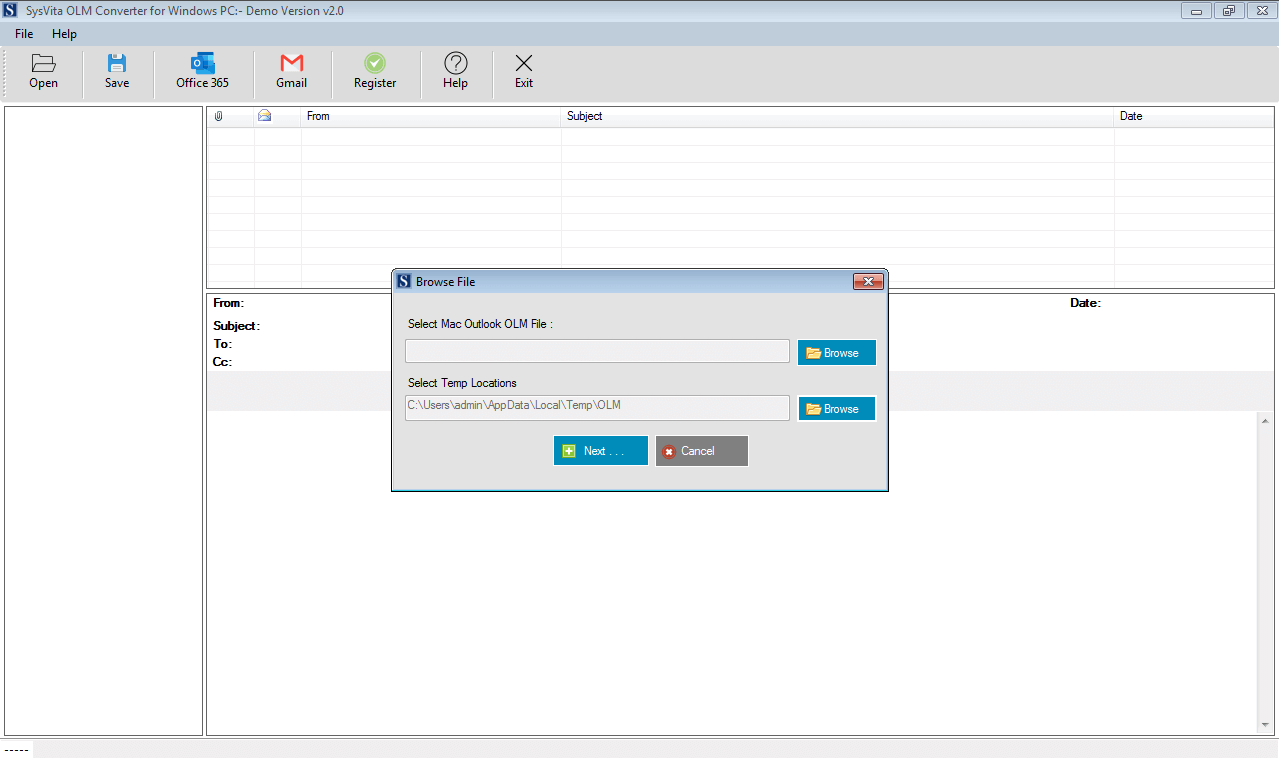

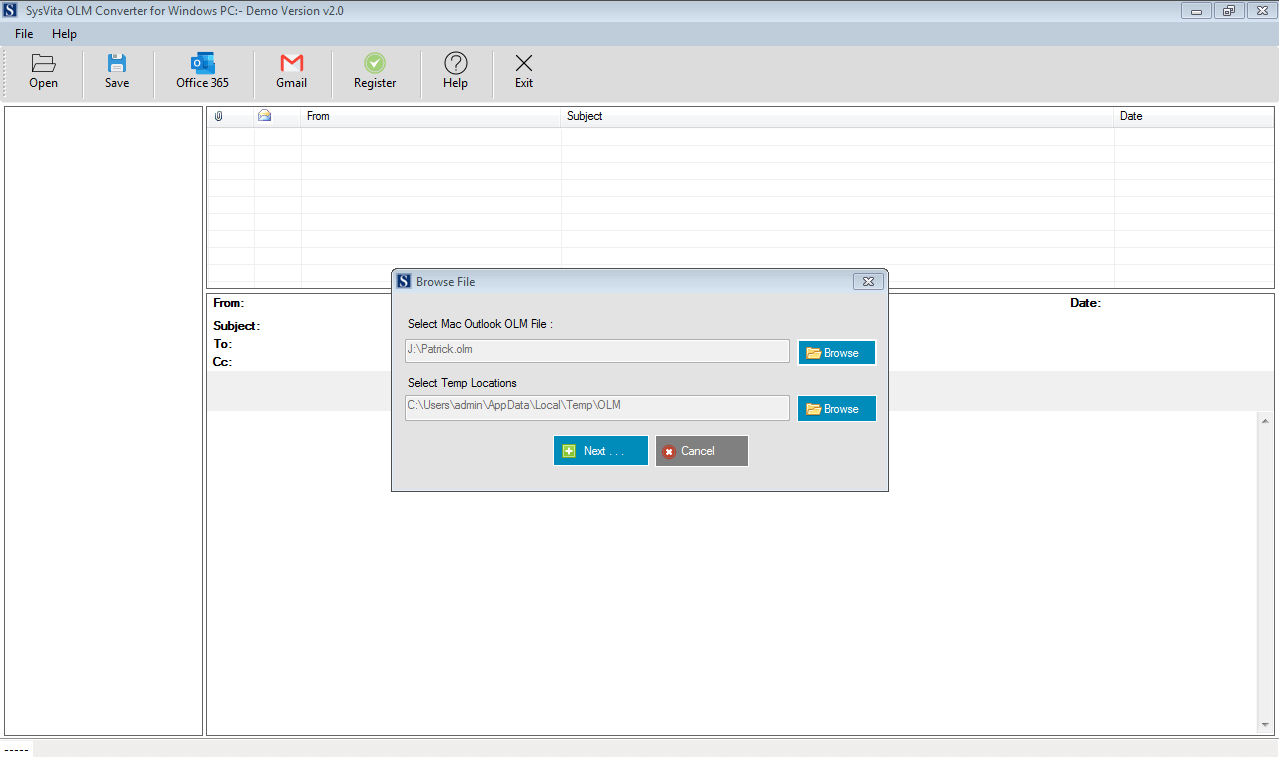

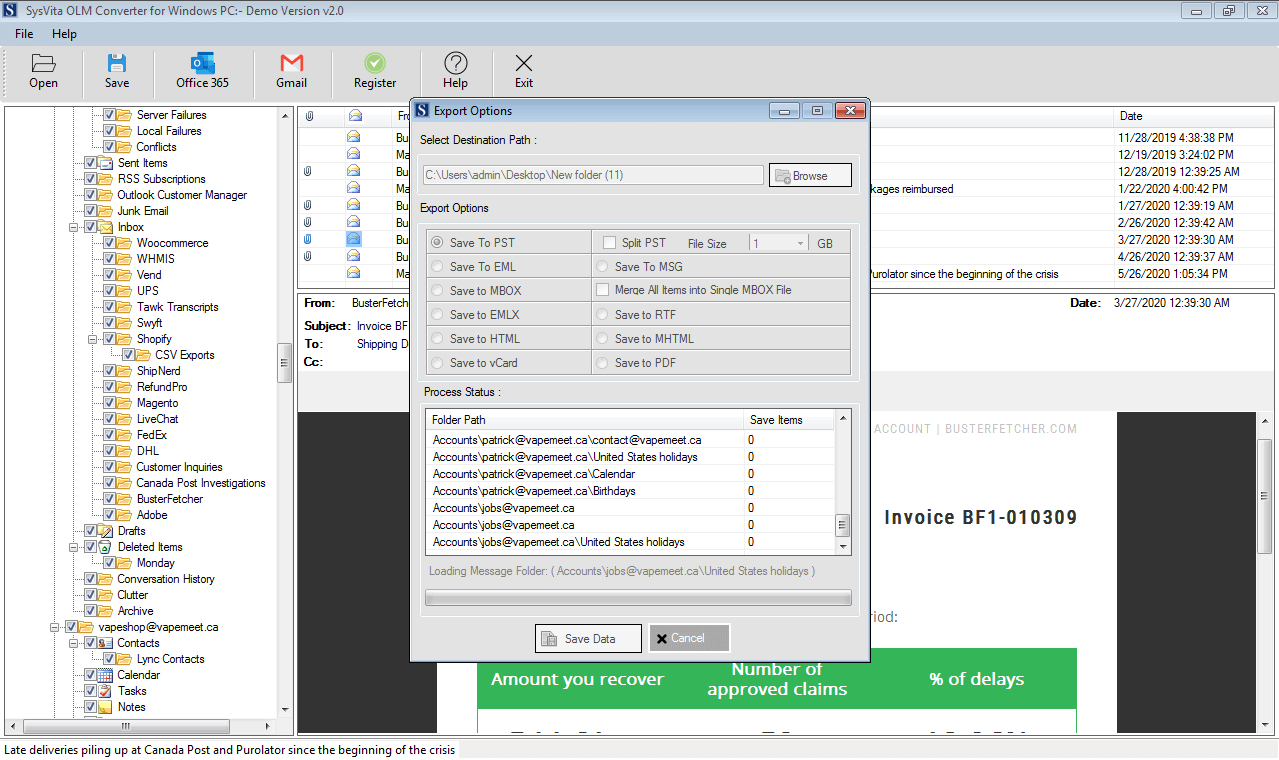
Note: You need to select Domain Name or IP then select Exchange Server version after then fill user id or name and put password then click on Convert button.
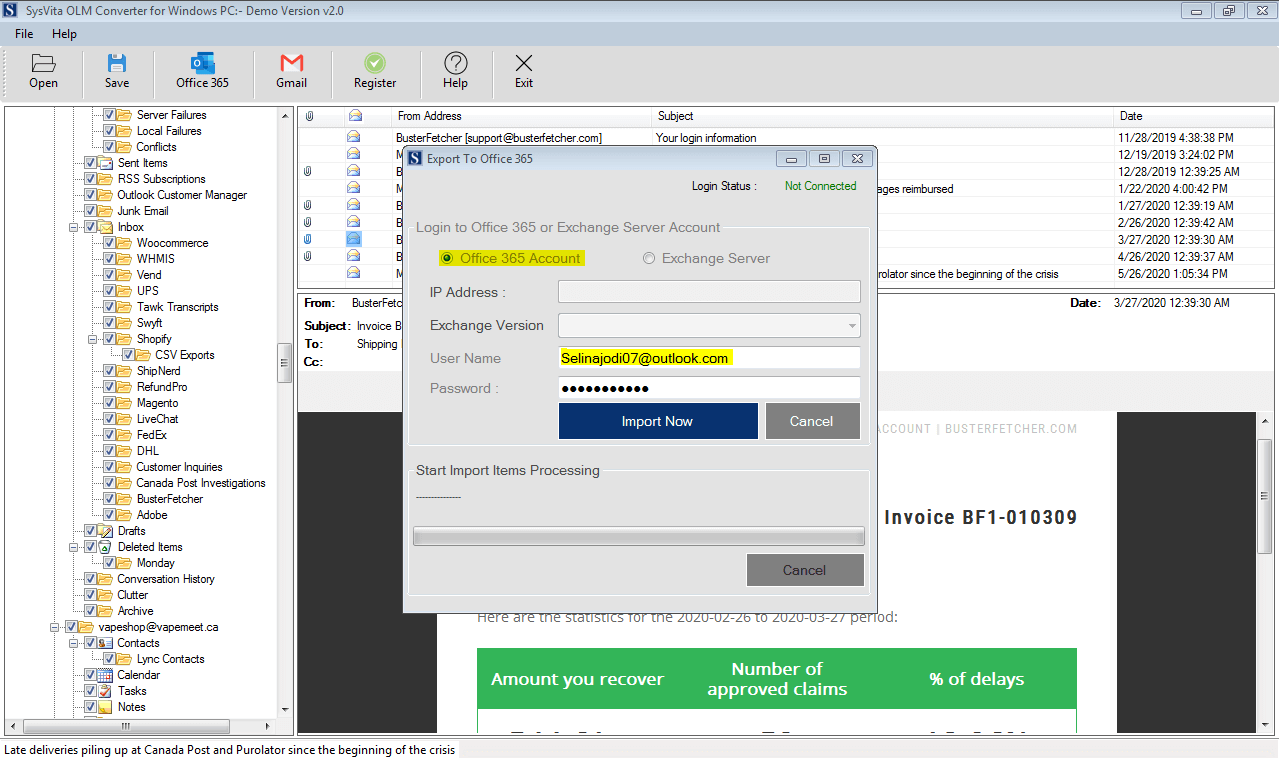
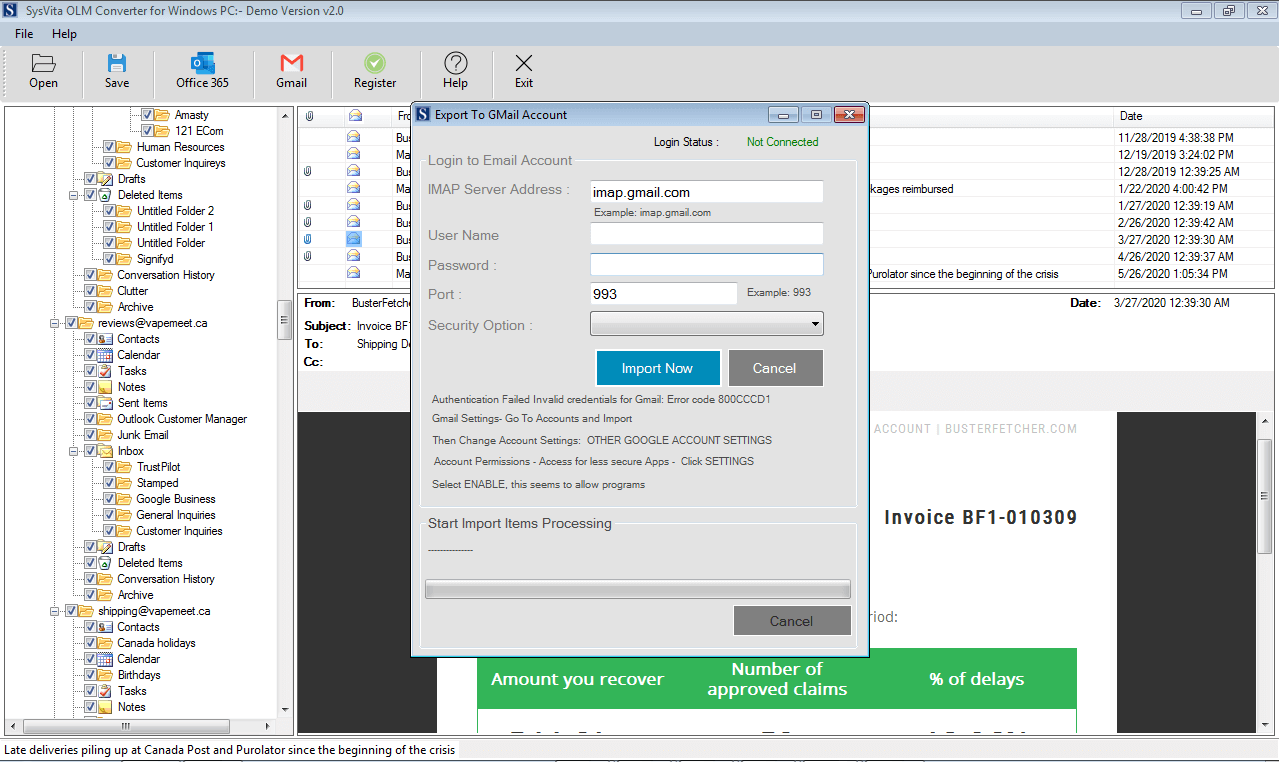
Note: Need to add email id and password
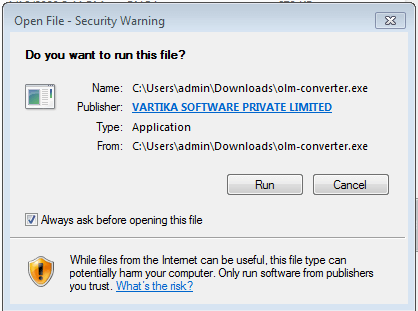
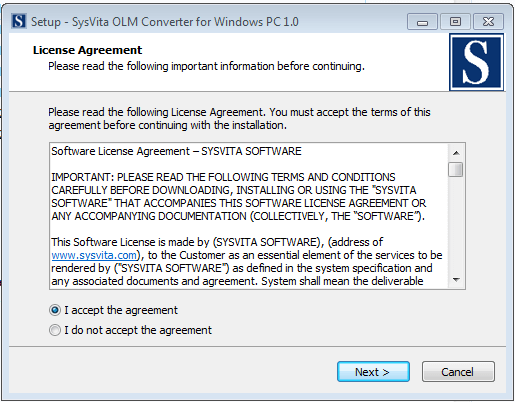
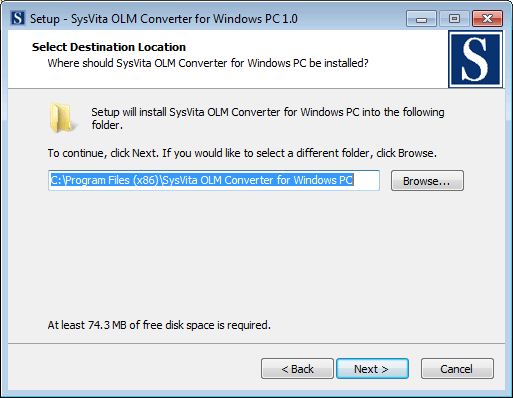
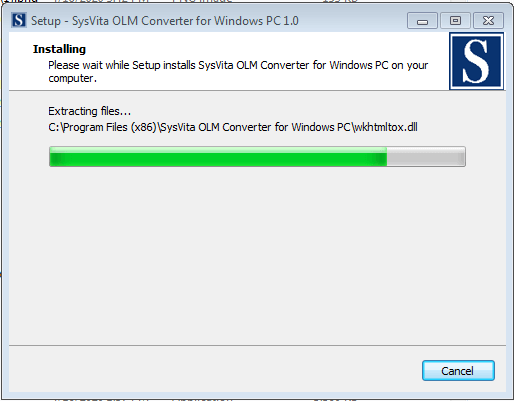
Now, you already known that the software features and systems requirements of SYSVITA Exchange OST Recovery. Let us talk about how to install SYSVITA Exchange OST Recovery tool!
Before installing the software, make sure that the software setup file is available on
your computer.
Download the software from https://www.sysvita.com/olm-to-pst.php
For any queries releated to product download problem or installation, contact us at: support@sysvita.com
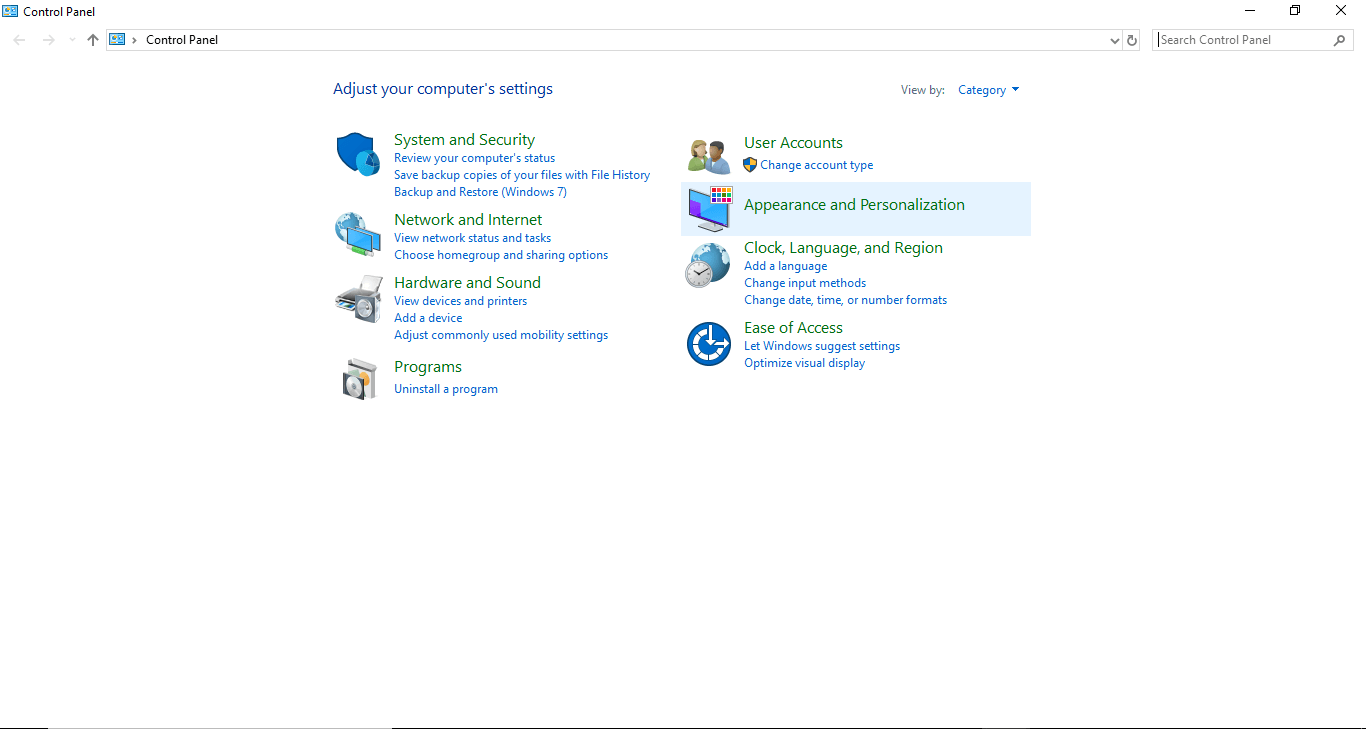
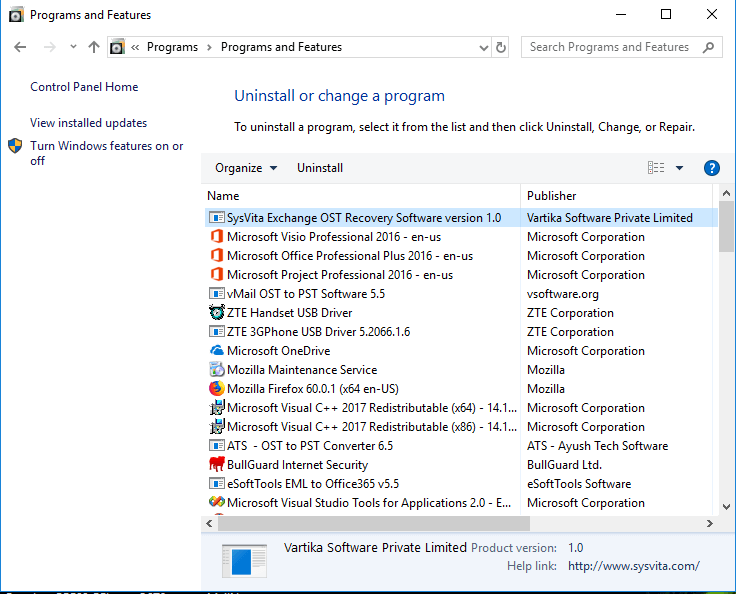
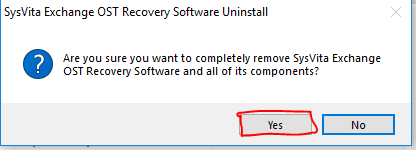
Uninstallation Process of SYSVITA Exchange OST Recovery
You can uninstall SYSVITA Exchange OST Recovery from your computer by using following methods:

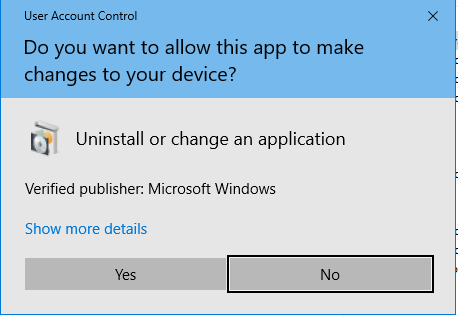
Click ok button
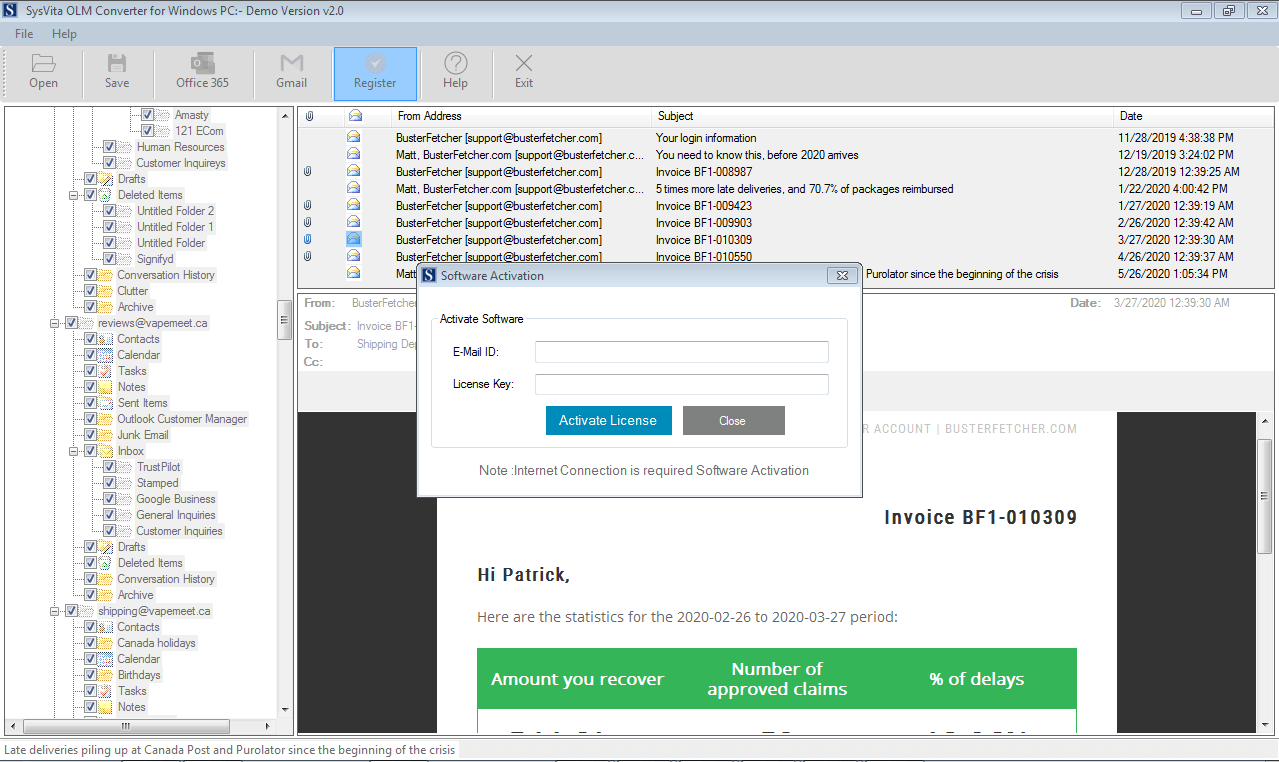
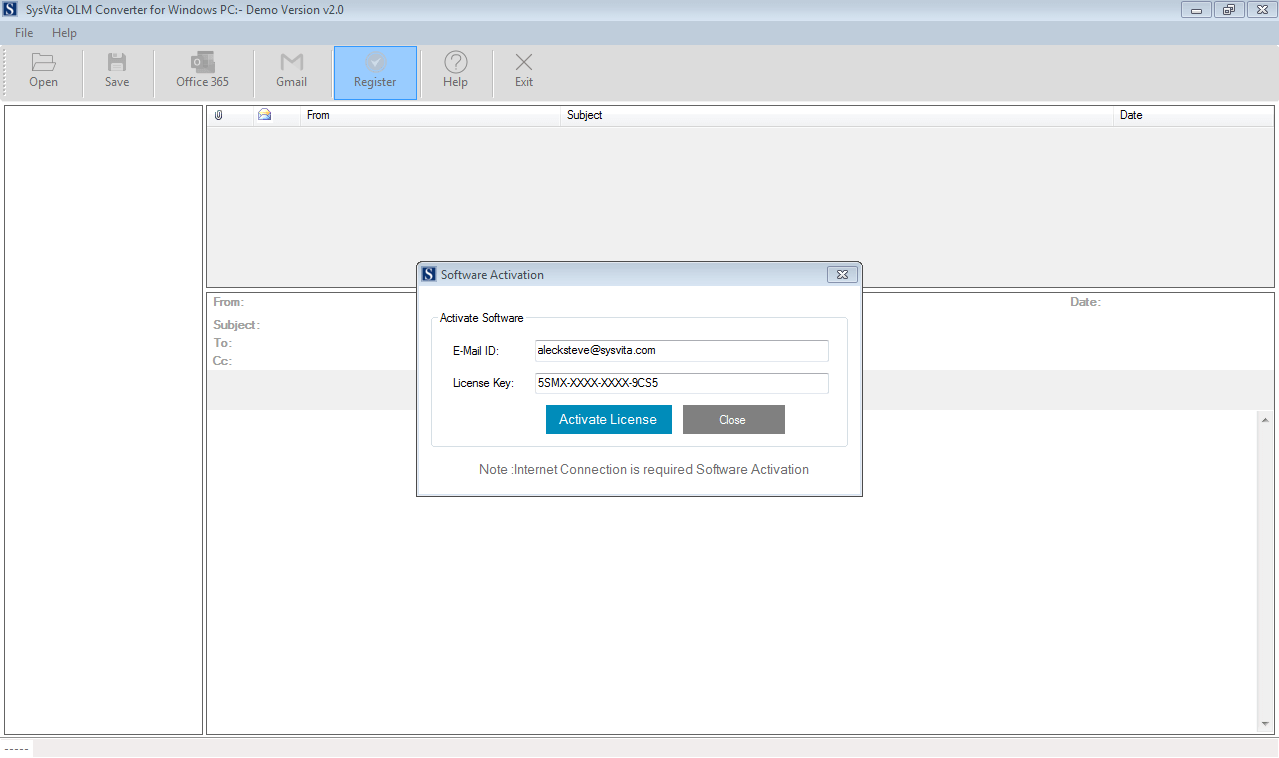
Now, Find The First Email Id and Activation Key in Your Order Datials Email. after that, You fill email ID in email Setions and Key fill in Key Setions. After That Click Activate Button!
Exchange OST Recovery software is trustworthy Software that recovers my Lost Exchange data from corrupted Exchange OST file database and Save into Outlook PST file. when my data lost after disaster of my Machine.

Gracias, el equipo de recuperación de datos de Sysvita por proporcionarme una excelente herramienta de recuperación de Exchange OST que funcionó muy bien. Después de la utilización de esta herramienta, puedo abrir mis archivos OST Outlook PST file (2016), y esta herramienta se exporta directamente en Gmail G-Suite.

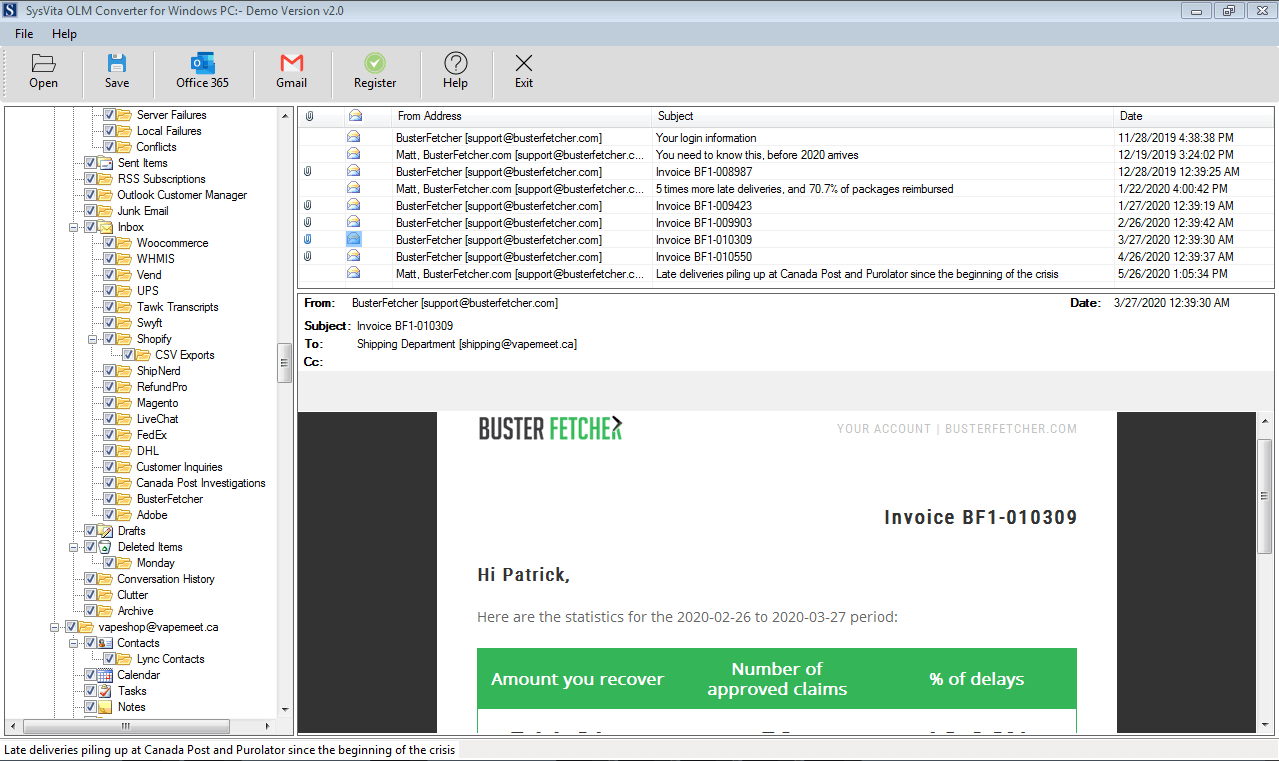
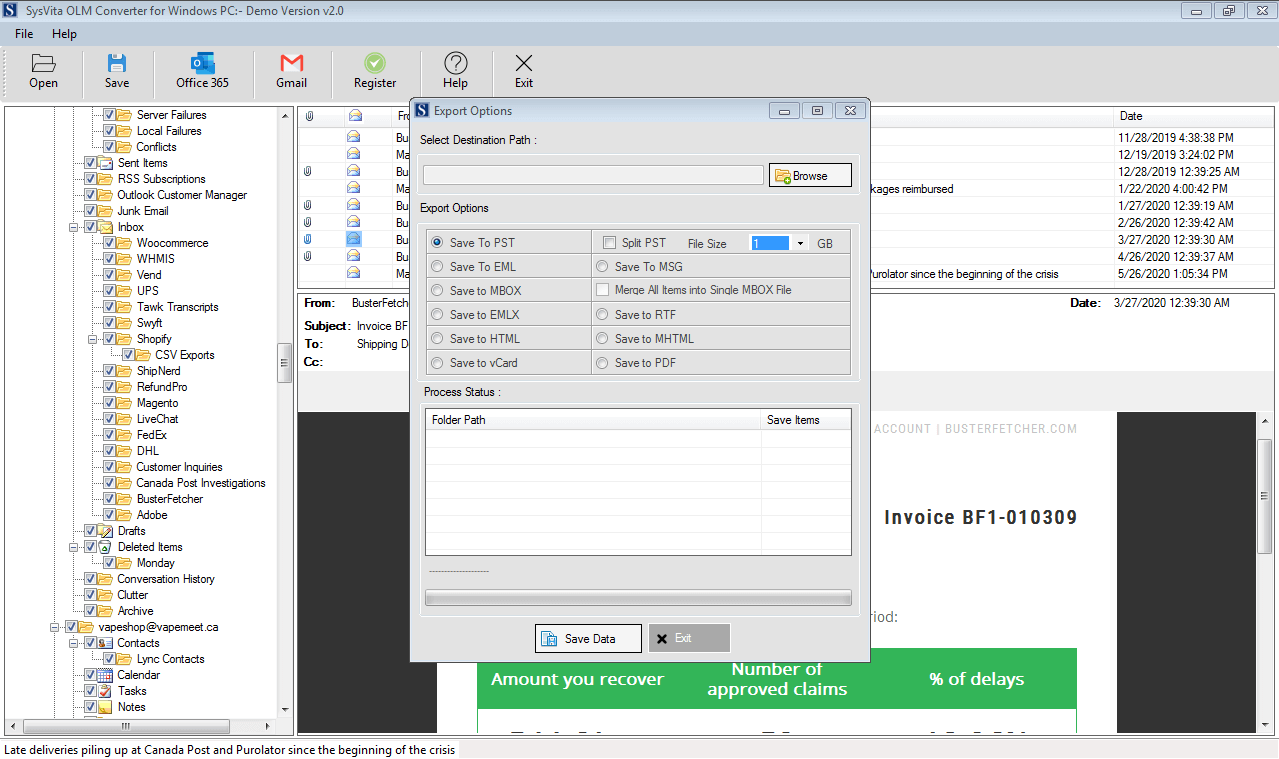
Thanks to SYSVITA Software Solution for providing such an incredible solution to user. It has advanced GUI, the user shouldn't face any types of issues while converting from Mac Outlook OLM emails to the Outlook.


Thanks to SYSVITA Software Solution for providing such an incredible solution to user. It has advanced GUI, the user shouldn't face any types of issues while converting from Mac Outlook OLM emails to the Outlook.

Thanks to SYSVITA Software Solution for providing such an incredible solution to user. It has advanced GUI, the user shouldn't face any types of issues while converting from Mac Outlook OLM emails to the Outlook.

Thanks to SYSVITA Software Solution for providing such an incredible solution to user. It has advanced GUI, the user shouldn't face any types of issues while converting from Mac Outlook OLM emails to the Outlook.

Thanks to SYSVITA Software Solution for providing such an incredible solution to user. It has advanced GUI, the user shouldn't face any types of issues while converting from Mac Outlook OLM emails to the Outlook.

Thanks to SYSVITA Software Solution for providing such an incredible solution to user. It has advanced GUI, the user shouldn't face any types of issues while converting from Mac Outlook OLM emails to the Outlook.

Thanks to SYSVITA Software Solution for providing such an incredible solution to user. It has advanced GUI, the user shouldn't face any types of issues while converting from Mac Outlook OLM emails to the Outlook.

Thanks to SYSVITA Software Solution for providing such an incredible solution to user. It has advanced GUI, the user shouldn't face any types of issues while converting from Mac Outlook OLM emails to the Outlook.

Thanks to SYSVITA Software Solution for providing such an incredible solution to user. It has advanced GUI, the user shouldn't face any types of issues while converting from Mac Outlook OLM emails to the Outlook.

Thanks to SYSVITA Software Solution for providing such an incredible solution to user. It has advanced GUI, the user shouldn't face any types of issues while converting from Mac Outlook OLM emails to the Outlook.